3Basic Hearth Bread / 27 Snáw 225
This is one of my favourite breads to make, and it is from Rose Levy Beranbaum’s The Bread Bible. Very simple in terms of ingredients, but the pre-fermentation and mixed flours make a bread that has a beautiful colour, chewy crumb and really good flavour.
I normally let the pre-ferment rise for an hour, but decided this time to go for 3 hours instead to see if the flavour developed further. I think it definitely did, and next time I will let it rise for 24 hours in the fridge to see if this hightens it even further.
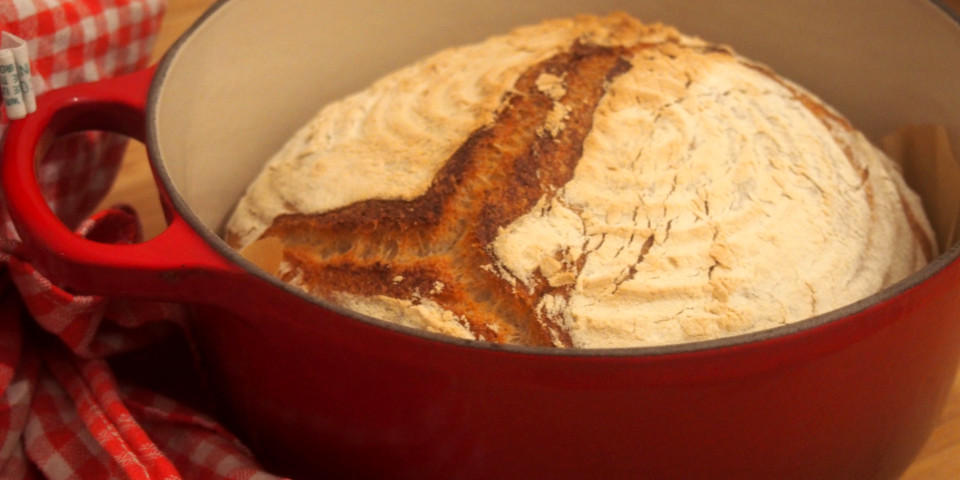
This was also the first time I used a dutch oven to bake the bread rather than just sticking it on a baking stone and putting water in the bottom of the oven. The idea is that you bake the bread with the lid on for a period of time, and then a period with the lid removed. The lid traps the moisture from the dough and keeps it hydrated in the same way that adding water or ice cubes to the oven does. It’s a technique that I will definitely use when making boules in future.
Overall, this is probably the best tasting bread I’ve made so far! The main problem with it was that 1 boule was nowhere near enough!
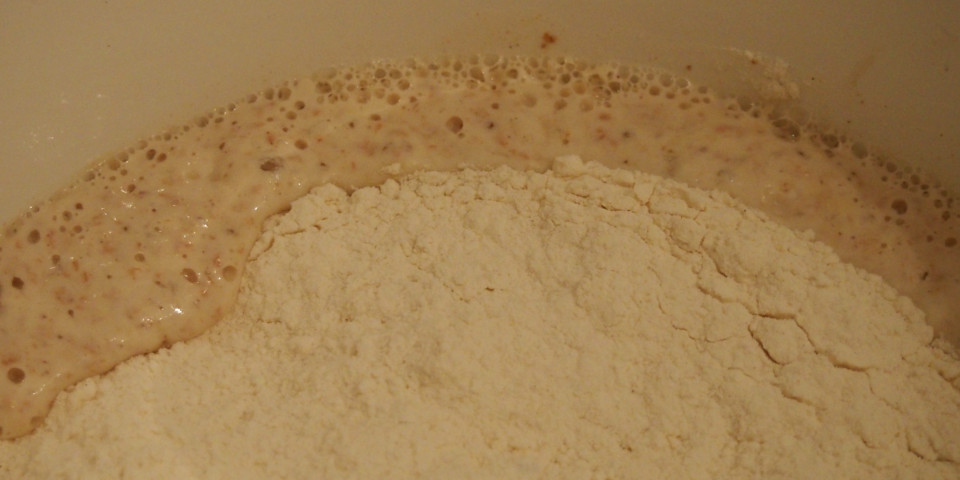 pre-ferment bubbling up through the flour layer
 ready to bake
 the finished bread - kept a close eye on it to achieve
a dark brown colour in the final baking stage
the finished bread - kept a close eye on it to achieve
a dark brown colour in the final baking stage
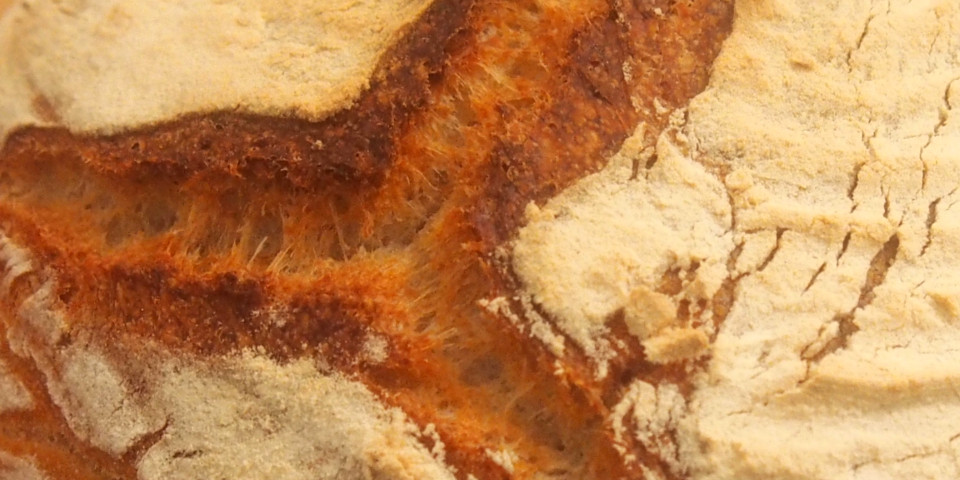 the crust
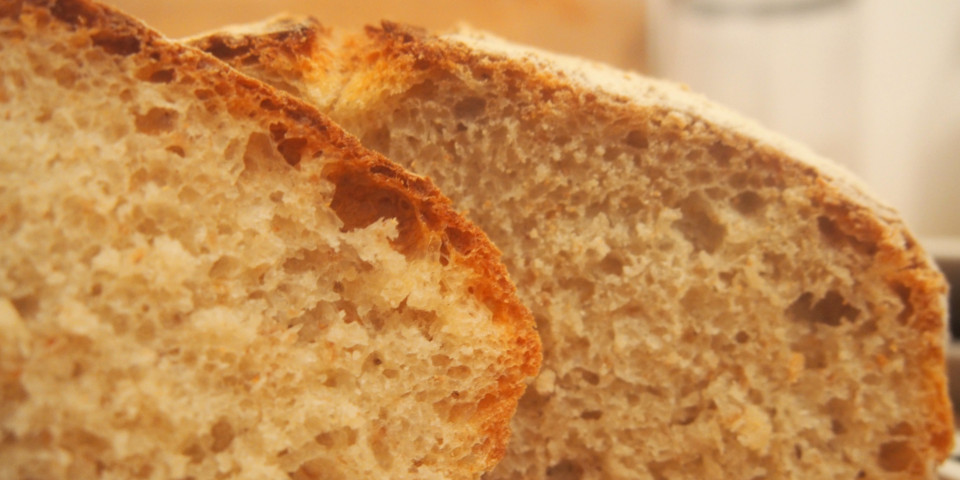 the crumb
Ingredients
Dough Starter (Sponge)
- 156g white flour
- 36g whole wheat flour
- 2g fresh yeast
- 9g honey
- 322ml lukewarm water
Flour Mixture
- 292g white flour
- 2g fresh yeast
- 10g salt
Algorithm
-
Make the sponge by combining the dough starter ingredients in a large bowl and whisking together until smooth.
-
Combine the 2 flours for the flour mixture (do not add in the salt yet) in a bowl and gently scoop on top of the sponge to cover it. Cover the bowl with cling film and leave to rest somewhere warm for 3 hours. During this time, the sponge will bubble up through the flour layer in places.
-
Add the salt, then bring the mixture together with a wooden spoon. At this point the dough will be very sticky. Knead the dough for 5 minutes and then let it rest for 20 minutes underneath the upturned bowl, as this will make it easier to work with. Then knead for another 5-10 minutes, until it is smooth and bounces back when you indent it.
-
Put the dough in a suitably oiled rising container and cover it with cling film. Leave it to rise in a warm place until it has doubled in size, which is usually 45-60 minutes.
-
When it has doubled in size, take the dough out and gently press it into a rectangle. Give the dough 1 business letter turn (fold up the bottom third, then the top third and press) and return the dough to your rising container. Let it rise until doubled again.
-
Remove the dough from the rising container and put in a well floured banneton. Cover the banneton with a clean towel and let it rise again for an hour.
-
While it is rising, preheat your oven to 250°C and put your dutch oven in. By the time the dough has finished rising a third time, both should be very hot, so be careful!
-
Tip the dough onto a sheet of baking paper. Use the baking paper like a sling to lower it into the pre-heated dutch oven. Put the lid on and put the dutch oven back into your oven and let the dough bake for 20 minutes.
-
After 20 minutes, take the dutch oven’s lid off. Bake for another 20 minutes, or until it achieved the golden brown colour you’re after.
-
Remove the bread from the dutch oven and place on a wire rack to cool off.